
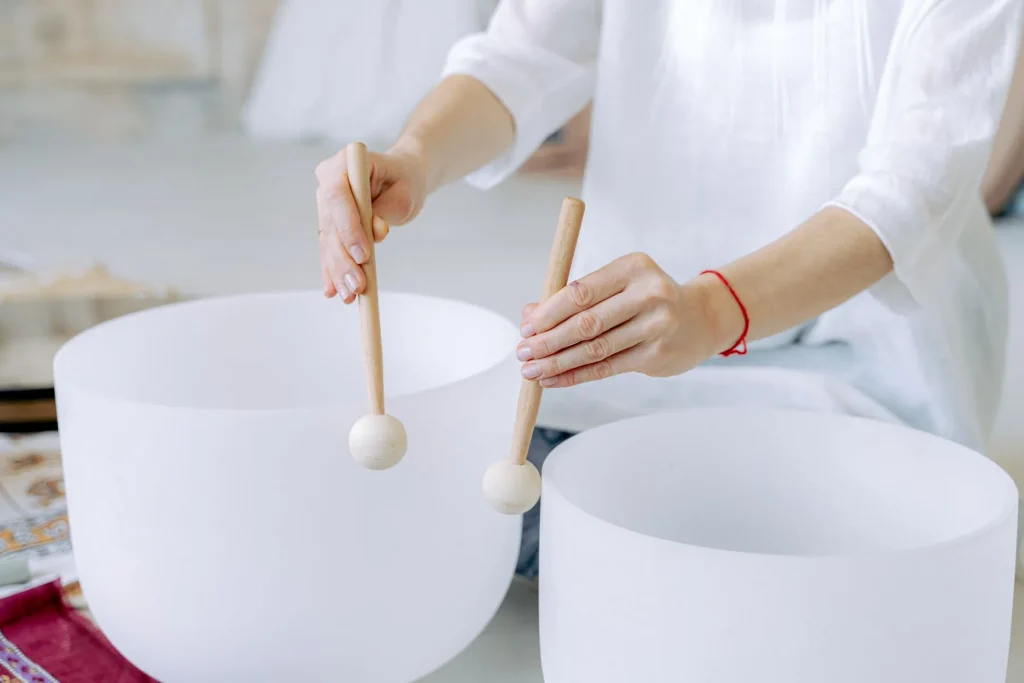
This ancient instrument dates back thousands of years and has long been used in rituals and meditation. Learning how to make your bowl sing provides a simple path to relaxation and better concentration.
The practice combines posture, grip and precise technique, whether you strike the bowl or rub its rim. With a short routine, you can produce soothing vibrations that may help regulate blood pressure and stimulate endorphin production.
Below, we explain every movement and the appropriate tools for turning a session into a harmonious sound experience. For a step-by-step method, see our dedicated guide: techniques and instructions.
Understanding how a singing bowl works
Observing the relationship between the striker, the bowl wall and the alloy helps explain how the vibrations are produced.
The friction principle relies on a phenomenon known as “stick-slip”: the wooden or leather-covered striker applies steady pressure during the circular movement. This pressure is converted into mechanical impulses that generate audible vibrations.
The friction principle
A continuous movement maintains a stable resonance. Constant, controlled pressure allows the bowl to release its harmonics without interruption.
The importance of the alloy
Bowls made in Nepal are said to incorporate seven metals, including gold, copper and lead. Each component in the alloy has a specific function: together, they enrich the harmonic range.
- The mallet’s covering changes its grip and the warmth of the sound.
- High-quality models maximize the propagation of vibrations throughout the body of the bowl.
- Understanding stick-slip physics helps you control the bowl more effectively and produce rich, harmonious sounds.
Preparing your space for a successful session
A well-prepared space directly affects sound quality and relaxation. Choose a quiet room with a comfortable temperature and no drafts. This makes practice easier and encourages rapid relaxation.
Before using your bowl, make sure it is clean: a dust-free surface improves the striker’s grip during rubbing. Allow 10 to 20 minutes for a complete session so your body can absorb the vibrations.
Settle in a space large enough to move around the instrument. Switch off devices that create background noise to ensure pure resonance.
- Set a clear intention: cleansing, meditation or simple relaxation.
- Respect the tradition: this practice is sometimes said to date back to 5,000 BC and gains depth in a peaceful setting.
To deepen your practice and discover a step-by-step approach, see our guide to sound baths and how they work.
Adopting the ideal posture to release the vibrations
A stable, relaxed posture helps the bowl’s harmonics travel freely. Sit upright, either cross-legged or on a chair. Keep your back aligned and your shoulders relaxed.
The role of the non-dominant hand
Your non-dominant hand should remain open and relaxed while holding the bowl. Place the bowl in your palm without pressing against its rim.
- Avoid placing your fingers on the rim: around 70% of the vibrations are concentrated in this area.
- For a large bowl, place it on a cushion to stabilize it and release its natural resonance.
- The movement of the striker or mallet should come from the arm and shoulder, with light, constant pressure.
Never grip the instrument tightly with your non-dominant hand. Minimal contact preserves the purity of the sound and allows your body to perceive the harmonics.
“Holding the bowl lightly allows every vibration to travel freely through the space.”
| Bowl size | Recommended support | Contact with the hand |
|---|---|---|
| Small (10–12 cm) | Palm of the hand | Minimal contact, open palm |
| Large (20 cm or more) | Stable cushion | Palm beneath the bowl, fingers away from the rim |
| Medium (13–19 cm) | Palm or cushion, depending on comfort | Open palm, light pressure |
Tibetan singing bowl: how to make it sing easily
Starting with a controlled impulse makes all the difference to the sound’s sustain. A light, precise and quick impulse prepares the wall to vibrate. Apply just enough force to start the note, then release.
The angle of the striker is crucial. Hold it at an angle close to 90° to the rim for optimal contact. An angle that is too open causes rattling, while one that is too closed prevents smooth rotation.
The circular movement should be fluid and even. Glide the striker around the rim using steady pressure suited to the size of the bowl. Let the note develop without forcing it, adjusting the speed of your arm as needed.
Use your non-dominant hand to hold the instrument with an open palm so that the vibrations can travel through your body. To vary the tone, alternate between a wooden mallet and a leather-covered mallet according to the intention of your session.
For a detailed, progressive method, see our practical guide to using a Tibetan singing bowl: techniques and instructions.
Mastering the striking technique for immediate sound
A controlled strike instantly produces a pure, recognizable note.
Gently strike the edge of the bowl with the mallet at a precise 45° angle. This movement allows you to make the bowl ring without unwanted noise.
The movement should remain short and crisp. The mallet must rebound rather than remain pressed against the wall of the singing bowl.
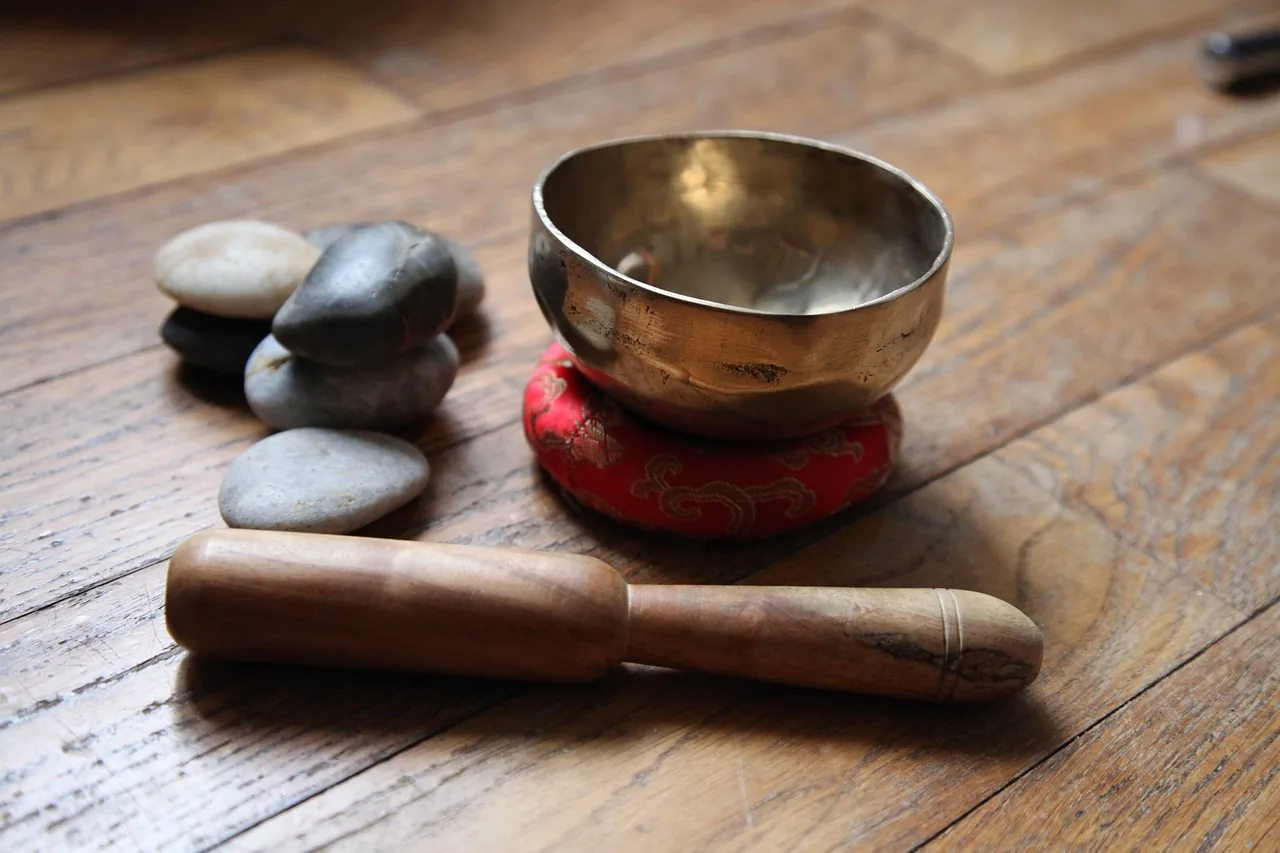
- Keep your arm steady and use a gentle rocking motion of the wrist to make each strike consistent.
- Keep your hand relaxed so that you do not dampen the vibrations and the sound can travel through your body.
- Adjust the pressure: keep it moderate to preserve the tone and assess the quality of the bowls.
“A clean strike opens the session and creates clear sounds that encourage present-moment awareness.”
With this technique, you will learn to vary the force and movement to punctuate a session and enrich the harmonics.
Adjusting pressure and speed to vary the harmonics
Changing the pressure on the rim produces richer, deeper tones. Light pressure from the striker changes the density of the vibrations and the depth of the note.
Use a slow rotation to produce low-pitched sounds. Gradually speed up to bring out higher frequencies. Coordination between the arm and fingers maintains constant pressure and prevents the sound from fading.
Choosing a wooden or leather-covered striker changes the texture of the sound. Try both to find what suits your instrument and its size.
Stabilize your instrument on a suitable cushion. This releases the harmonics and allows the body of the bowl to vibrate fully. To make the bowl sing, begin with light pressure, then increase it until you achieve the desired richness.
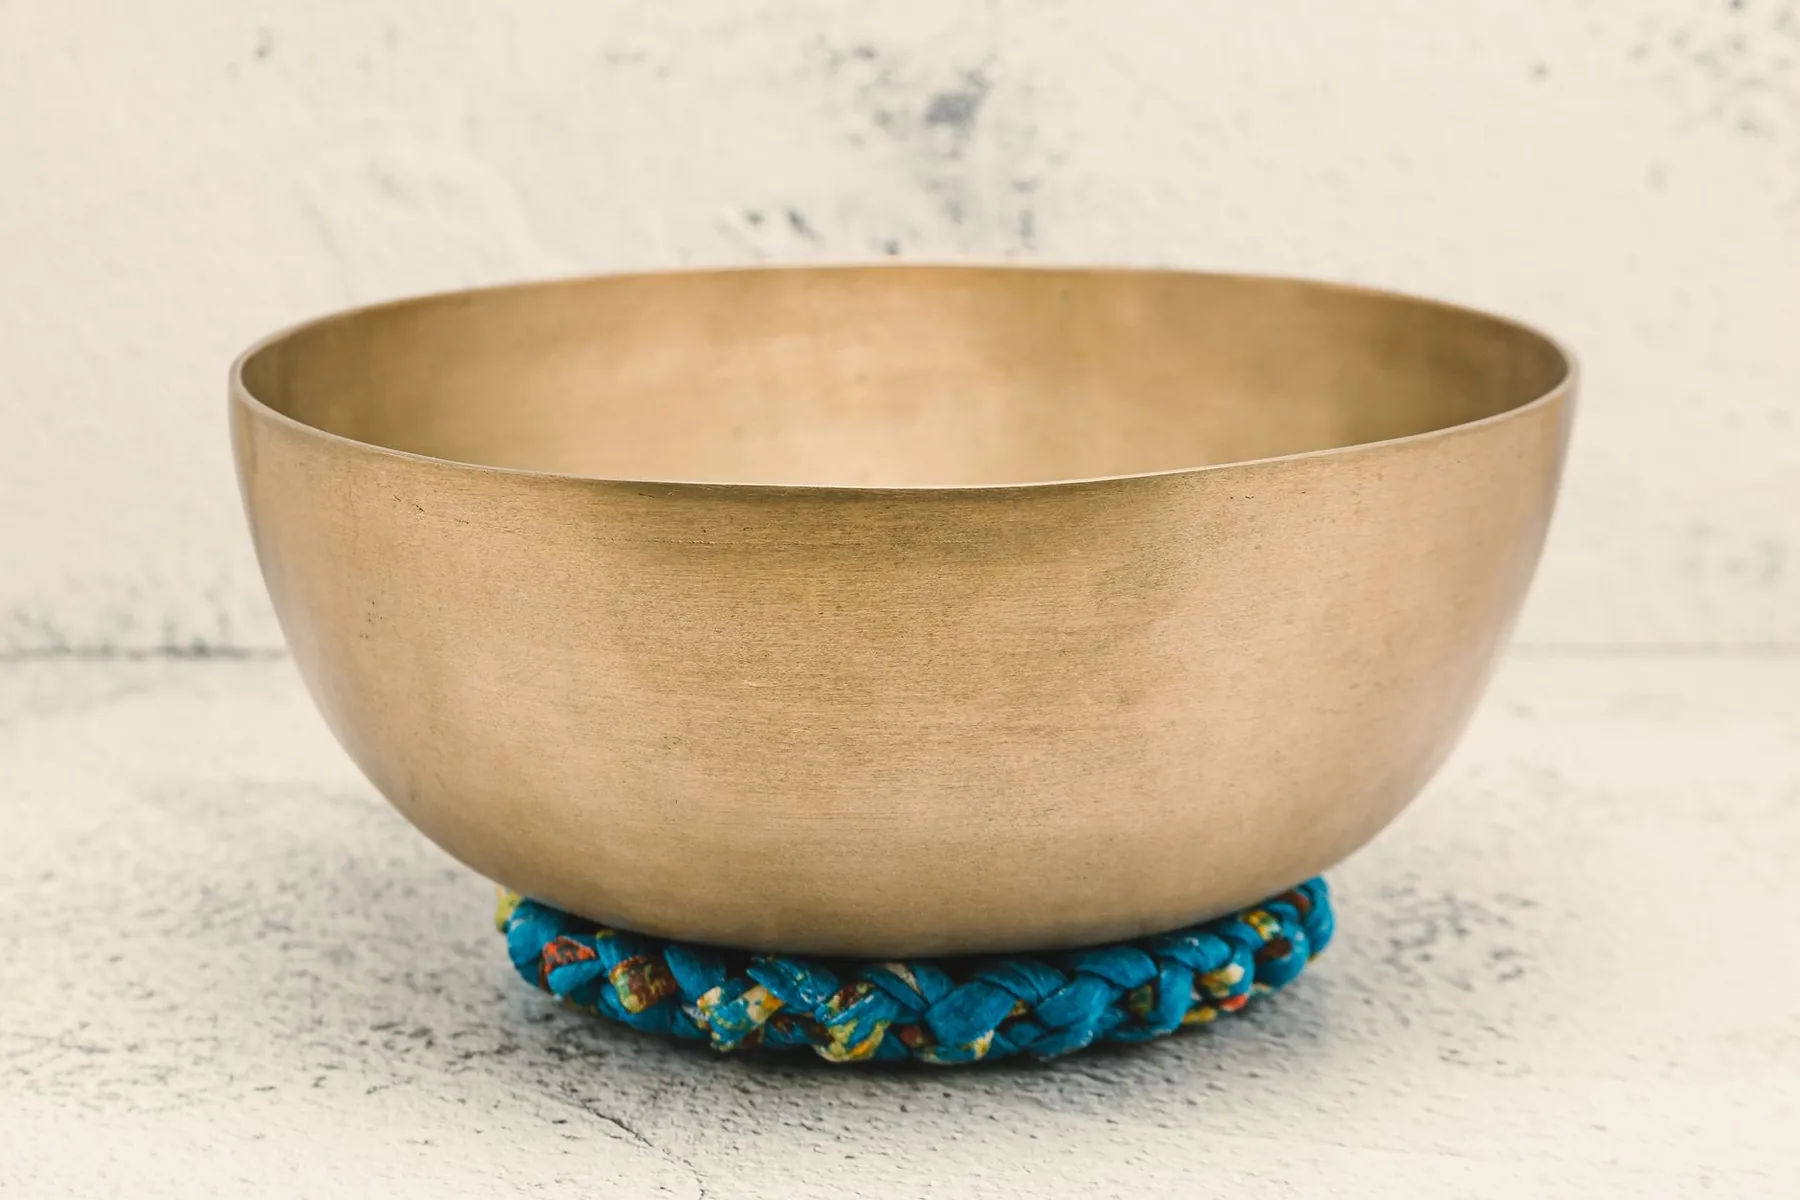
“Subtle movements make all the difference: varying the pressure and speed reveals the unique soul of each bowl’s sound.”
Troubleshooting common resonance problems
When the resonance deteriorates, start with a few quick and simple checks. Check that the rim is clean: a dirty surface prevents the striker from gliding and causes rattling.
Correcting rattling sounds
Gently clean the affected area with a dry cloth. Then inspect the mallet: if its leather or wooden surface is worn, replace it to restore optimal contact.
Adjust the pressure and speed. Uneven pressure or an excessively fast movement can cause the note to fade. Use a fluid arm movement and stabilize the hand holding the bowl.
“Change only one element at a time to identify the source of the problem.”
Adapting the support
Hard surfaces dampen the harmonics. Place the instrument on a cushion or a suitable ring-shaped support to release the vibrations.
Your hand should support the bowl without gripping it: excessive contact blocks the resonance. If the note remains muddy despite these adjustments, the quality of the alloy may be limiting its harmonic potential.
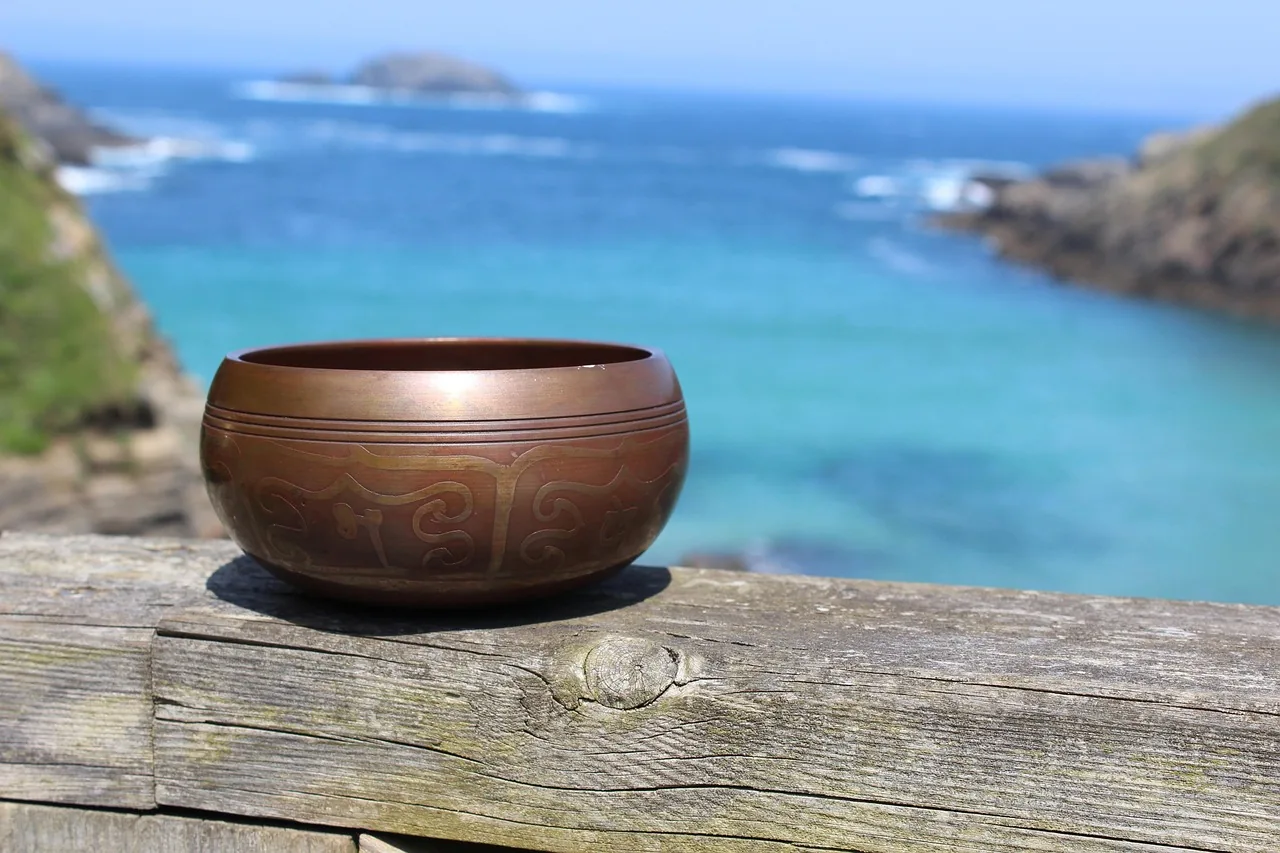
For a more detailed diagnosis and an overview of common causes, read this article about why a singing bowl will not sing.
Conclusion
Regular practice helps refine your sensitivity to the harmonics of a Tibetan singing bowl.
Once you have mastered the mallet and striker techniques, every session becomes a moment of deep relaxation. Consistent pressure and movement remain the keys to making the bowl sing with beautiful resonance.
Daily practice helps you understand how to make the bowl sing and explore the harmonics unique to your instruments. To deepen your experience and learn about its potential benefits, see our dedicated guide to singing bowl use and benefits.